WOW. Two of the neatest ingredients added to one of my favorite appetizers. These were awesome! (This recipe came from realhousemoms.com)
Ingredients:
12 Large Eggs
1 Cup mayonnaise
1 1/2 tsp vinegar
3/4 tsp ground mustard
1/2 tsp sugar
2 Jalapeno's (I will do 3 the next time, mine wasn't spicy at all)
6 Pieces of cooked bacon (I cooked mine in the microwave for 6 minutes covered with paper towels)
Paprika
Directions:
* Cook your eggs in a pot of water until done (about 10 minutes)
* Peel your eggs carefully (this is the worst step. Does anyone else hate peeling these things?)
* Cut your eggs in half (lengthwise).
* Take out the yolks and place them into a medium bowl. Mix them up with a fork.
* In the yolk bowl, mix your mayo, vinegar, ground mustard, and sugar with the egg yolks. Mix until well combined.
* Cut your jalapeno's into tiny pieces (after you have removed the seeds and top of it). I put the jalapeno's into my little mixer. It worked perfectly!!!)
(PROBLEM: I used two jalapeno's. They were both very fresh and were so mild I couldn't even taste the spice. It tasted more like a green pepper than a spicy pepper. Next time I will have more jalapeno's and taste test them until I get a good one with some heat!)
* Crunch your bacon into tiny pieces.
* Put your bacon and jalapeno's into the yolk bowl. Mix it all up well.
* Pour the mixture into a small ziploc bag. Seal it up.
* Cut a corner off the bag. Squeeze the mixture into your eggs.
* I added a bit of jalapeno's onto the top. You don't have too.
* Sprinkle with Paprika.
Good Food, Crappy Pictures

Monday, April 21, 2014
Friday, February 14, 2014
Green Chili Mac and Cheese
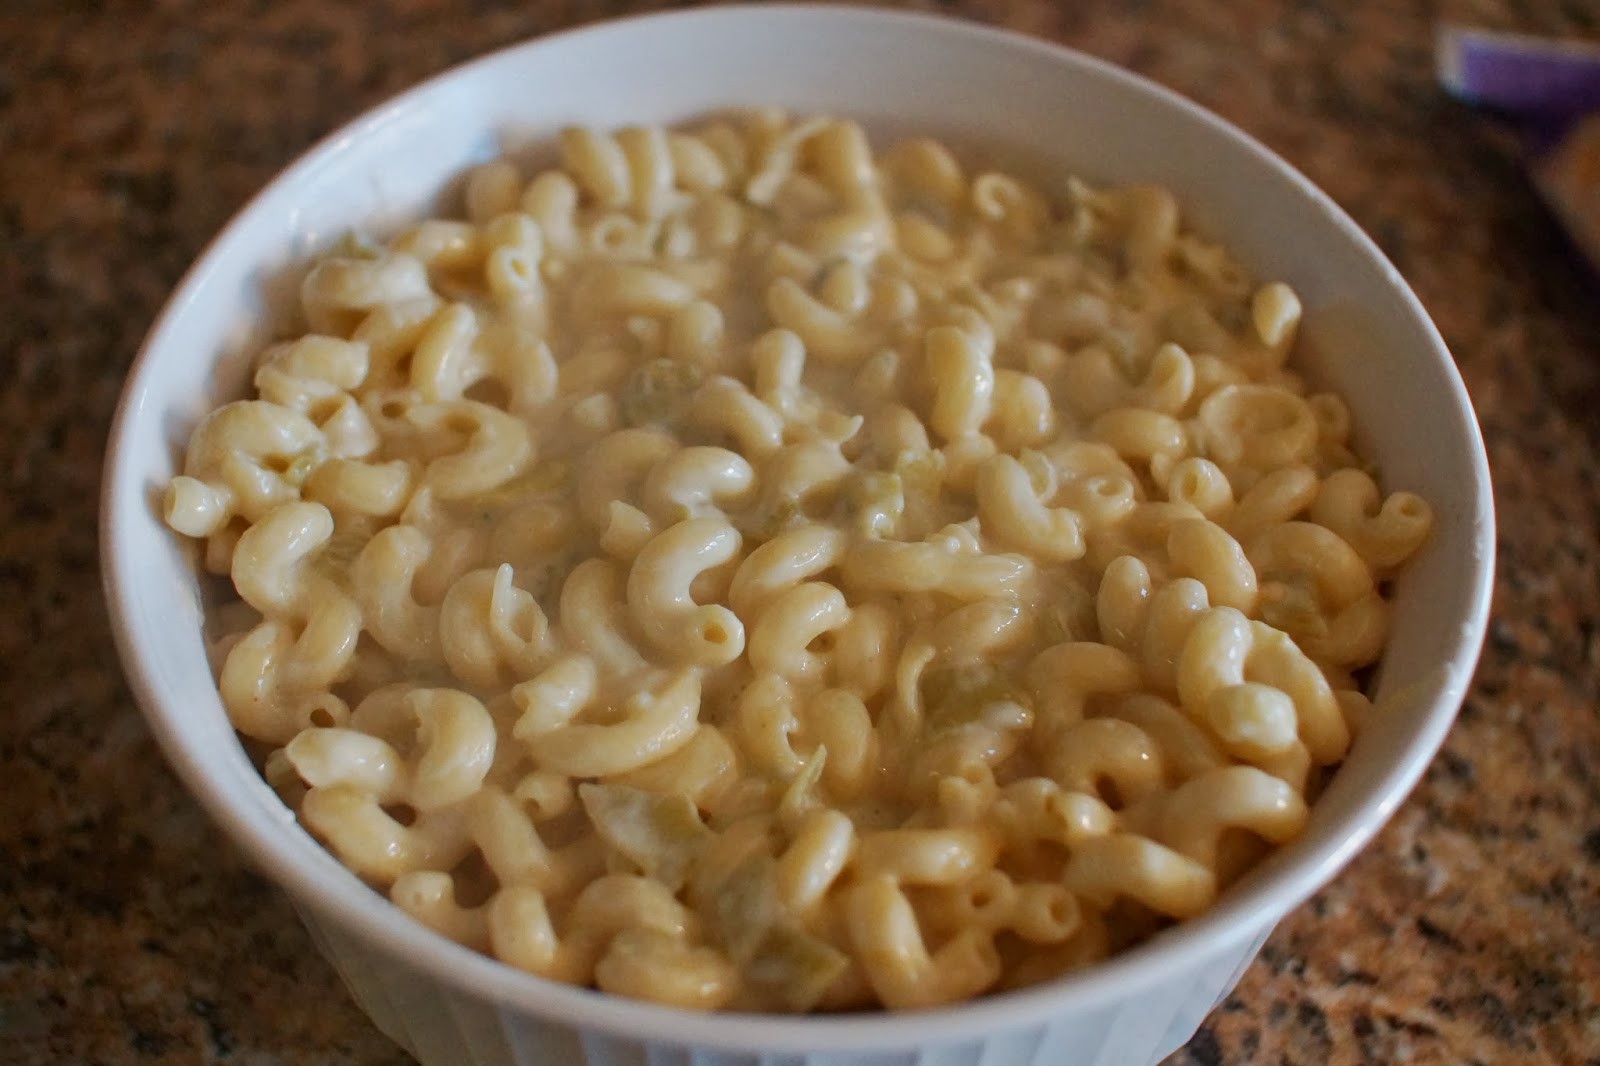
Last week I went out to lunch with my Mom and her best friend. I ordered green chili mac and cheese. I hate Mac and Cheese. But it was topped with blackened chicken, and the green chili's intrigued me. It was SO good that I had to come home and try to make it for myself. I hit the jackpot! It turned out great! All 4 of us LOVED this recipe, and Nick has since asked me when I would be making it again! It was so easy too!!!
Ingredients:
1 Box Pasta (I used cellatini because the shape is fun)
1/2 box of Velveeta Queso Blanco (Yes, the box stuff)
1 Small can green chili's in juice (don't drain it)
1/4 cup of milk
Dash of Parmesan
1/2 Cup shredded cheese
1/2-1 lb chicken tenders
Blackening spices
Directions:
*Trim the tendons and fat from the chicken.
*Coat the chicken in your blackening spice. We make our own from a recipe found on google...but you can easily buy a pre-done spice from the store.
*Place the chicken in a bit of oil in a large pan. Cook until done (about 15 minutes on a medium heat).
*While cooking the chicken, boil water for your pasta in a large stock pot.
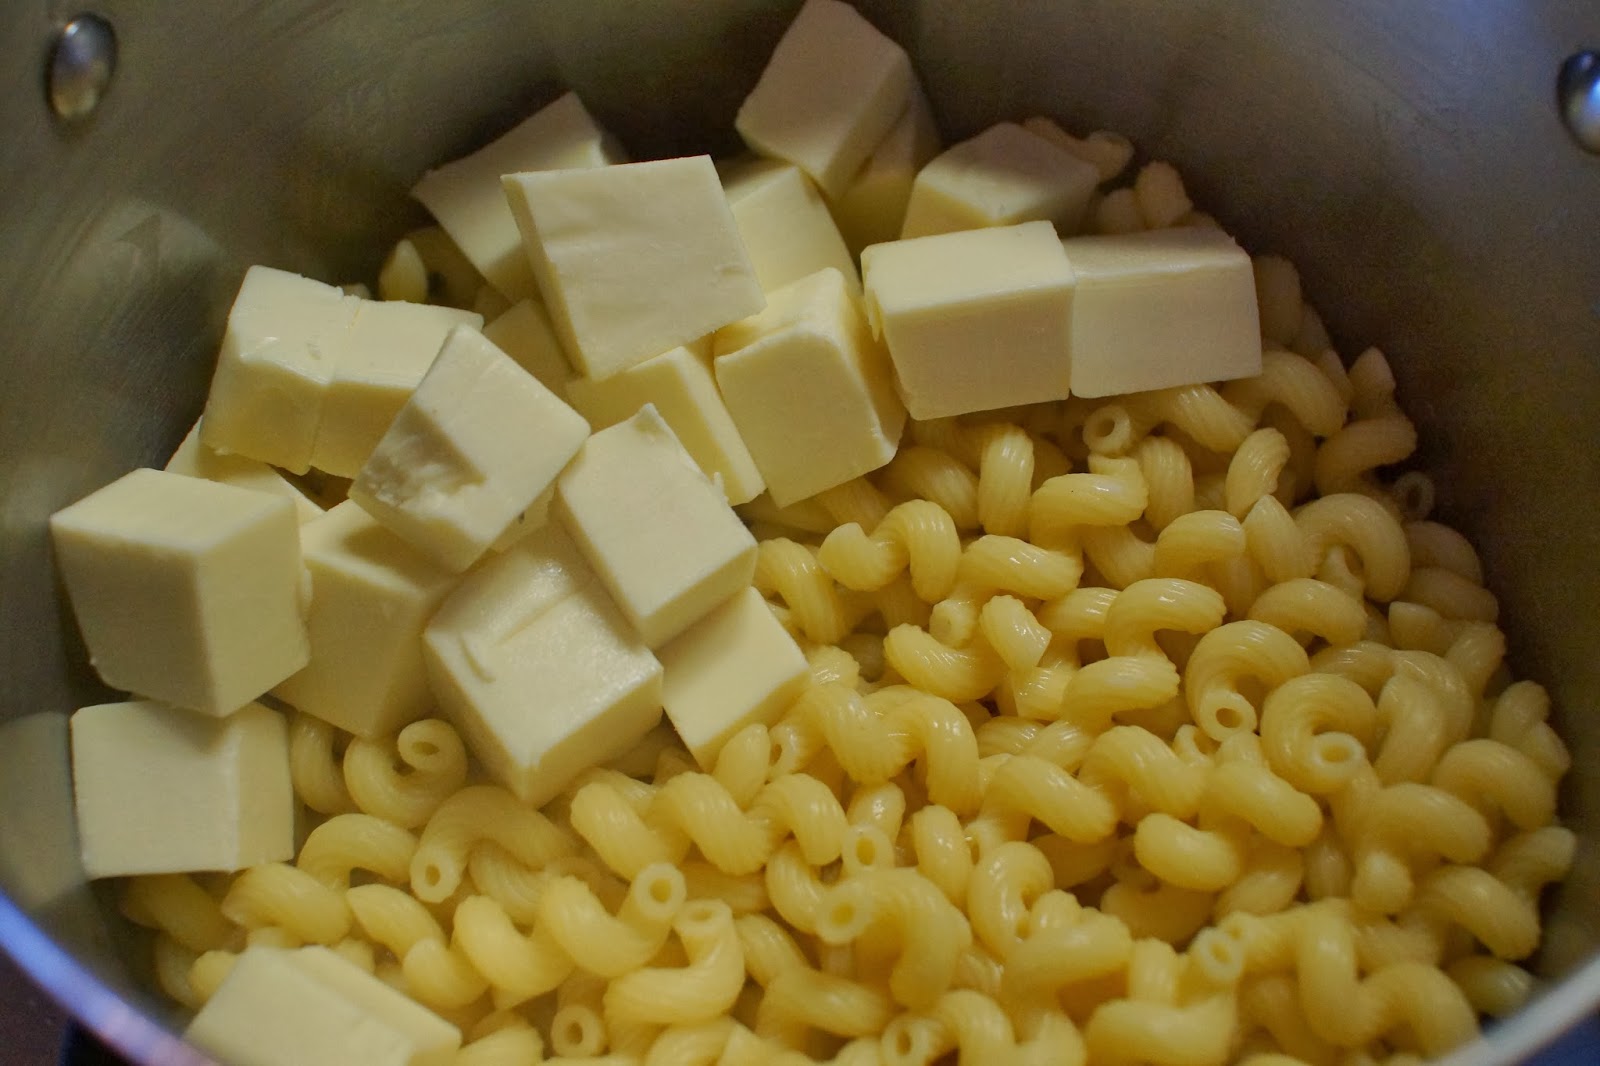
*Cut your Velveeta into small cubes and place to the side.
*Cook your pasta until done.
*Drain your pasta.
*Open your can of green chili's.
*Put your drained pasta, chili's and juice, Velveeta, and milk into the pot. Cook until the Velveeta is mixed. This should take less than 5 minutes.
*Spray a glass dish with baking spray.
*Place your pasta mixture into the dish.
*Sprinkle the Parmesan on top.
*Put the shredded cheese on top of the Parmesan.
*Bake at 400 for 5-10 minutes (until the cheese has melted).
*Place the chicken on top of the pasta when you serve it. This was So good! A very mild spice. Both boys LOVED it! Cooper had two plates! Sorry I don't have a picture of what the inside looked like once it was done...I gobbled it up so fast that I forgot to take a picture! Oops...
Chicken Lazone
Our neighbors have raved about a shrimp lazone recipe. Since my husband is deathly allergic to shellfish, it was not a recipe we could make. I found a chicken version of one on Pinterest and decided to give it a try. The chicken was delicious. Just delicious. The sauce was good, but I made some "what I would do next times" in the directions below. Let me know if you make this, and any changes to make to it. Would love to know what you think of it! (Oh, here is the link to the original recipe if you want it: http://www.plainchicken.com/2013/05/chicken-lazone.html#_a5y_p=1148476)
Ingredients:
1/2 tsp salt
1 1/2 tsps chili powder
1 1/2 tsp onion powder
2 tsps garlic powder
1/4 tsp cayenne powder
1-2 lbs chicken tenders (I did one package of them at about 1 lbs)
1/4 cup butter (1/2 a stick)
2 Cups heavy cream (whipping cream)
Directions:
* Boil a pot of water. When the water boils, begin to cook your pasta (any kind you want). Make the following recipe directions/steps while the pasta is cooking. Cook it slow so it isn't done too much before the chicken is finished cooking.
* In a small bowl, mix the salt, chili powder, onion powder, garlic powder, and cayenne powder together.
*Remove any of the tendons (or gross pieces) to your chicken tenders.
* Sprinkle some of the spice onto a plate. Place the chicken tenders on top of the spices. Sprinkle the rest of the spices onto the tops of the chicken.
* In a large pan, melt half the butter over medium heat (be careful not to burn it).
* Place the chicken into the melted butter and cook until chicken is done. (The website I got this recipe off of said it would take about 8 minutes. I always worry chicken won't be cooked all the way through, so I'm sure I doubled the time on this.)
* Once the chicken is cooked, remove the chicken from the pan and set on a plate.
* In the pan you cooked the chicken in, place the remaining butter and cream.
* Lower the heat to a simmer, and cook until the sauce thickens. My sauce did not thicken. The next time I make this, I will add a flour mixture to it to thicken it up. Simply put a tablespoon of flour into a cup. Add just enough water so you can mix the flour into a watery mixture without it being too thin. Add a bit of water, mix, a bit more water, mix some more, etc...
* Once the sauce is thick, serve up your dish. Place the noodles onto a plate. Pour the sauce over the pasta. Place the chicken pieces onto the top of the chicken. Sprinkle some grated Parmesan cheese on top too if you'd like!
(I LOVED the chicken. It was DELICIOUS!!! The sauce is basic. If you are expecting something grandios, you might want to add a few dashes of spices to it. It was really yummy and a new change to "pasta.")
Wednesday, December 18, 2013
Mini Pecan Pies
JACKPOT! Finally! I have had SO many pinterest fails lately. Its been ridiculous. I keep thinking I need to make a list of all the terrible one's! Maybe soon I will. I was excited to try this one, and so glad I did because it turned out amazing. Easy ingredients, easy to make, and delicious to eat! YAY!
Ingredients:
1 Frozen pie crust, thawed out
1/2 Cup powdered sugar
1/4 Cup butter
1/4 Cup light corn syrup
1/2 Chopped pecans
Directions:
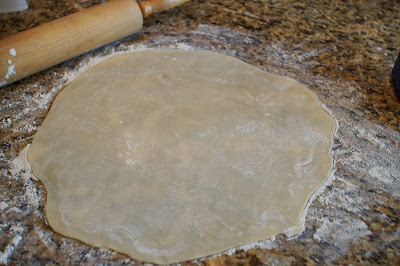
*Flour your counter well so the dough doesn't stick.
*Roll out the pie crust a bit to thin it out. (Flour the top a bit so the rolling pin doesn't stick).
*Take a small, round cookie cutter or glass to cut out small round pieces of the dough. I had a small glass I used, but a small 2 inch cookie cutter would be perfect. Even a 1.5 inch.
*Spray down your mini muffin tin (yes, those super small one's that has 24 or so muffin spots in it) with baking spray.
*Place each of the little pie crusts into a muffin tin spot. Gently press it down into place.
*Place the tin into a pre-heated oven to 350*F. Bake for 8-10 minutes.
*While the dough is baking, make the filling.
*Put the powdered sugar, butter, and corn syrup into a very small pan.
*Cook on medium until it boils.
*Add the chopped pecans and mix well.
*Pour the pecan mixture into the pastry cups that are still in the muffin tray.
*Bake for an additional 5-8 minutes in the oven (still at 350*F).
*Remove and let cool before removing from the pan. (I ate them before I could take a picture, oops!)
Unstuffed Cabbage Rolls
These are amazing. A friend of mine made them and posted it on facebook. I had had this recipe saved on pinterest for some time and figured I should try it once she said how amazing it was. It was SO good. I love cabbage rolls, and this was so similar. I am already looking forward to leftovers for lunch tomorrow (and PS, I don't like leftovers usually! It really was that good!)
Ingredients:
1 lb ground pork (I did medium/regular heat)
1 lb ground beef
1 Tbsp vegetable oil
1 Medium onion
1 Clove garlic, diced
1 Medium cabbage
1 Can tomato sauce (15 ounce)
2 Cans petite diced tomatoes (14 ounces each)
1/2 Cup water
1 tsp salt
1 tsp pepper
Directions:
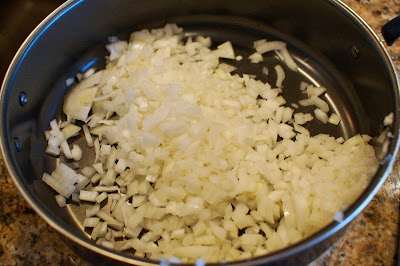
* Dice your onion into tiny pieces (or larger if your an onion fan. We aren't, so I diced it pretty small).
* Place the onion into a LARGE skillet with the oil. Add the ground beef and the ground pork. Mix it up well.
* Cook on medium until there is no more pink in any of the meat (say 8 minutes or so).
* While the meat is cooking, chop up the cabbage. I got a big bowl to put it all into because there was so much of it!
* Once the meat is cooked, add the cabbage, garlic clove, tomato sauce, diced tomatoes and their juices, water, salt, and pepper to the meat/onion mixture. (I didn't think there was going to be enough juices to cook it all down. I didn't put the full cabbage amount it, but I should have. It really absorbed well and there was PLENTY of juice!)
* I had to put it all into a large stock pot because it wouldn't fit into my skillet...and its a decent sized skillet!
* Cover and turn to simmer/low for 20-25 minutes. It is done when the cabbage is done. I cooked mine for about 25-30 minutes...but it would have been done a few minutes before.
* I made brown rice on the side. I poured the cabbage mixture over the rice to serve it. So delicious!
Wednesday, September 18, 2013
Cauliflower Pizza Crust
A good friend of mine mentioned "cauliflower" pizza to me. I love cauliflower...but in our family of 4, I am the only one. I bought a head of cauliflower a week or so ago with making it, but hadn't gotten around to it until today. Both kids were at school, so Nick was going to be my taste tester. I am pleasantly surprised with the outcome. There is a very, very mild cauliflower taste to it. Not enough for anyone to go "this is cauliflower, isn't it?" If you didn't know that I used cauliflower to make it, you really wouldn't know by the taste. The one thing that was different about it was you need a fork to eat it. It doesn't get as hard of a crust as a regular pizza, but I'm okay with not having messy pizza hands. :)
Ingredients:
1 Head of cauliflower
1 Cup mozzerella cheese
1 Egg, beaten
1 tsp oregano
1/2 tsp garlic salt
1/2 tsp granulated garlic
Olive oil to drizzle
(any pizza toppings you want, pizza sauce, cheese for the top)
Directions:
*Chop all the flowerettes off of the cauliflower. Place them into a blender or mixer.
*Once all of it is into the tiny cauliflower granules, put it into a microwave safe bowl.
*Cook the cauliflower in the microwave for 8 minutes. Still every 2 minutes throughout the cooking.
*Pre-heat your oven to 450*F.
*On a pizza pan (or any baking sheet really), place a piece of parchment paper.
*When the cauliflower is done cooking, pour it into a bowl (one medium head of cauliflower will make right around 1 cup of "grain" type cauliflower). Add the egg, spices, and mozzarella cheese into the bowl with the riced cauliflower.
*Mix it all up.
*Pour the dough onto your parchment paper on the baking sheet.
*With your hands, push the dough out and flatten it into your pizza shape.
*Drizzle with olive oil.
*Bake at 450*F for 15 minutes.
*Once the crust is cooked, add your sauce, toppings, and cheese. I HIGHLY suggest cooking your sauce and toppings before adding them on because your pizza will not be in the over long enough to heat through.
*Turn the "broil" on your oven on.
*Put your pizza with toppings and cheese into the oven. Cook for about 4 minutes. You only want to cook it until the cheese is melted.
*Careful cutting the pizza and placing it onto the place (remember how I said it isn't as hard of a dough as a regular pizza?) Enjoy!
Subscribe to:
Posts (Atom)


